
 Русский
 Bahasa Indonesia
 فارسی
فارسی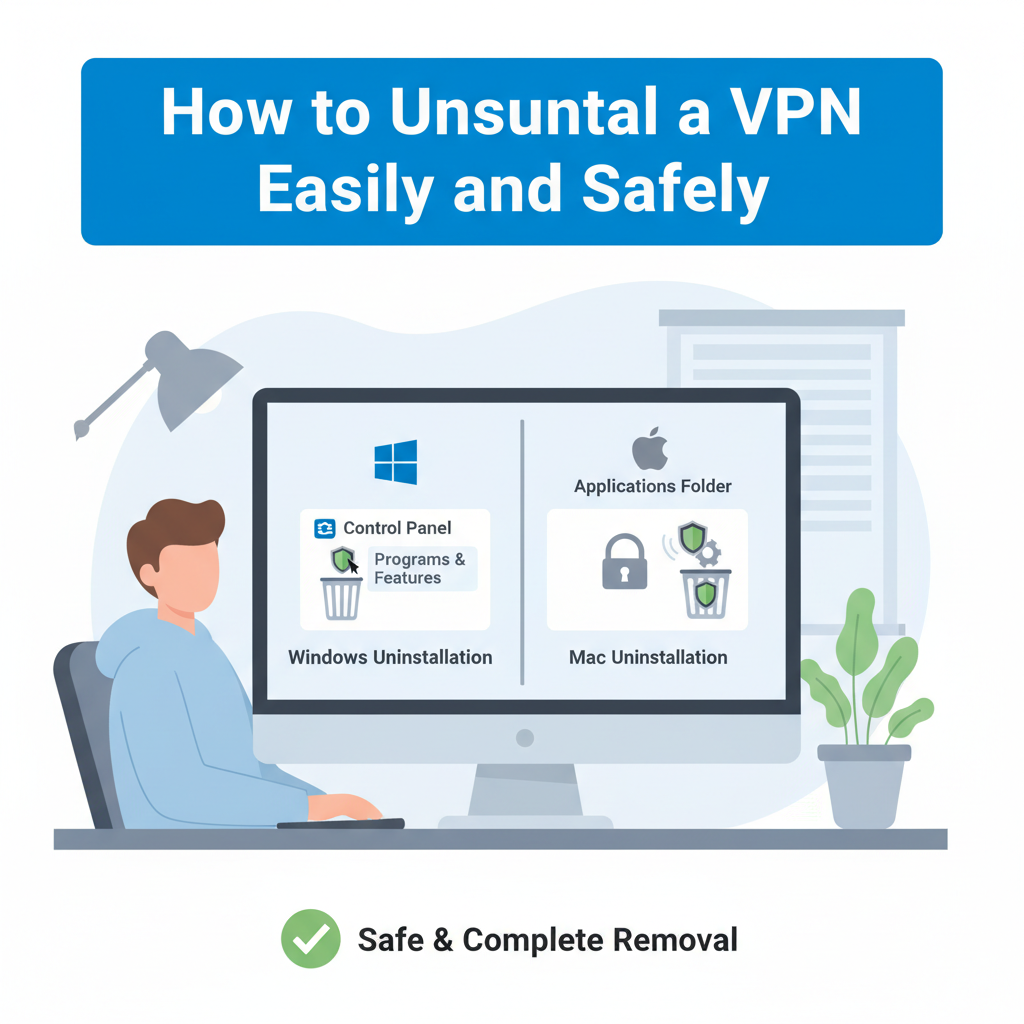
Uninstalling a VPN can be crucial when troubleshooting connectivity issues or switching services. This guide explores the best methods to completely remove VPN programs from your device, ensuring no residual files are left behind. We’ll look at different operating systems and offer step-by-step instructions for a smooth, problem-free experience.
Step-by-Step Methods to Uninstall Your VPN
Windows: To uninstall a VPN on Windows, open the Control Panel and navigate to “Programs and Features.” Find your VPN listed, select it, and click “Uninstall.” If prompted, allow the installer to run and follow the removal steps. When finished, check for leftover directories in “Program Files” and “AppData” by searching for the VPN’s name. Delete any lingering folders to ensure all components are removed. Some VPNs modify network adapters—open “Network and Sharing Center,” select “Change adapter settings,” right-click any VPN-related adapters, and choose “Delete.” If Windows reports an error, boot into Safe Mode and repeat these steps. Always restart your PC after removal to clear temporary settings.
macOS: On a Mac, open “Finder” and go to the “Applications” folder. Drag the VPN app to the Trash and empty it. To remove associated files, in Finder select “Go” > “Go to Folder” and type “~/Library/Application Support” and “~/Library/Preferences,” then search for any files or folders named after your VPN and move them to Trash. Some VPNs also install profiles that must be removed: open “System Settings” (or “System Preferences” on earlier versions), click “Profiles,” and delete any VPN profiles. Restart your Mac to flush network caches.
Android: Press and hold the VPN app icon, then tap “Uninstall.” For older devices, go to “Settings” > “Apps” > “See all apps,” select your VPN, and uninstall. Remove VPN profiles by heading to “Settings” > “Network & Internet” > “VPN” and deleting any connections under the VPN list. If issues persist with connectivity, restart your phone or reset network settings in “Settings” > “System” > “Reset options.”
iOS: On iPhone or iPad, tap and hold the VPN app icon until a menu appears, then select “Delete App.” Go to “Settings” > “General” > “VPN & Device Management,” and ensure all VPN configurations are removed. A restart helps restore any overwritten system settings.
In all cases, if the standard uninstall process fails, download official removal tools from the VPN provider or use reputable third-party uninstallers. Verifying VPN removal is crucial: ensure the client app is gone, VPN profiles have been deleted, and your device can connect to the internet without errors. According to Microsoft and Apple support documentation, these cleanup steps prevent residual configs from interfering with your network.
Conclusions
Removing a VPN is a straightforward process when you follow the right steps for your operating system. Doing so ensures your device remains secure and runs efficiently, free from unnecessary software. By carefully following this guide, you can safely uninstall your VPN and resolve related issues, paving the way for optimal device performance.