
 Русский
 Bahasa Indonesia
 فارسی
فارسی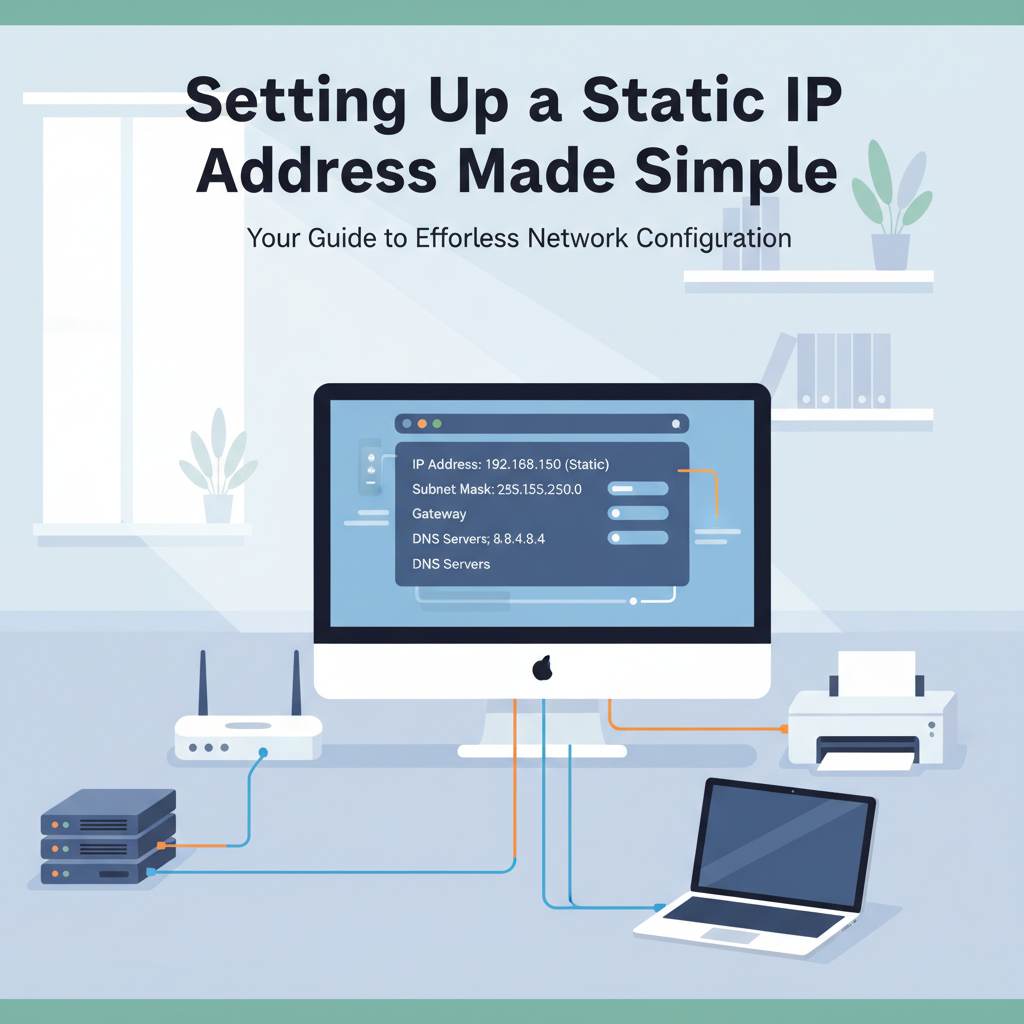
Setting up a static IP address is essential for devices that require a consistent network presence. Unlike dynamic IP addresses that can change, a static IP ensures your device always uses the same address, making it ideal for servers, printers, and remote access. In this guide, you’ll learn how to configure a static IP smoothly and securely.
Step-by-Step Instructions for Assigning a Static IP Address
Before configuring a static IP address, be sure to verify your router’s current IP pool and existing device allocations to prevent conflicts. IP conflicts occur when two devices are assigned the same IP, causing connectivity problems. To avoid this, log into your router settings and find the DHCP range—this identifies which addresses are dynamically assigned. Pick an address outside this range for your static assignment or reserve an IP within this range specifically for your device, if your router supports it. Static IPs are crucial for servers, printers, and cameras, as their network location must remain consistent for reliable access.
Dynamic (DHCP) IPs change over time, meaning a device could get a new IP after reboot or prolonged inactivity, which disrupts links for networked hardware or software reliant on a steady address. By assigning a static IP, you ensure persistent connectivity and ease of management.
On Windows, open Settings, choose Network & Internet, select your active connection (Wi-Fi or Ethernet), and click on “Properties.” Under IP Settings, switch from automatic (DHCP) to manual. Enter your chosen IP address, Subnet mask, Default gateway (your router’s IP), and one or two DNS servers. For macOS, go to System Settings, select Network, and pick your interface. Click “Details” or “Advanced,” then set Configure IPv4 to “Manually,” and fill in the same IP details.
Double-check each number you enter; an incorrect subnet or gateway will block network access. If you experience any issues, revert to DHCP to confirm your connection works, then retry the static setup. For best security and reliability, maintain a list of assigned static IPs and review it regularly. Always ensure your device’s static IP does not overlap with any addresses dynamically handed out by DHCP.
Conclusions
Configuring a static IP address brings stability and better control to your network, especially for devices that provide services or require reliable remote connections. By following clear steps, you can ensure seamless communication and easier troubleshooting. Mastering this network skill is valuable for boosting both functionality and security in your home or office setup.